What Mode Do I Use?
If you’re traveling with your camera or even using your phone to take pics, the rapidly advancing capabilities of these cameras can be both convenient and confusing. While all cameras and most phones have numerous settings that can be adjusted, depending on the situation, one of, if not the most important setting to consider is the “exposure mode”. From fully automatic to fully manual, and with several variations in between, the selection of the right exposure mode will impact the quality of your travel images and the memories that they evoke.
“Taking pictures is savoring life intensely, every hundredth of a second”
~ Marc Riboud
Exposure – The Basics
To understand which mode will be best for you and your circumstances, a basic understanding of the three dimensions of a good exposure is very helpful – shutter speed, aperture size, and ISO.
In order for any camera to record an image the light from the scene that you’re trying to capture must be exposed onto the media that will store the image. All three of these dimensions of exposure relate to how light is exposed onto the camera’s sensors, or if you’re a traditionalist, onto film. For the purpose of this post, I will use digital camera terminology, but the concepts are the same if you happen to be using a film camera or phone.
The shutter speed setting refers to the amount of time that light from the scene is exposed onto the camera’s sensor. Typically measured in fractions of a second or whole seconds for longer exposures, the shutter speed also controls the opportunity for blurriness in your images.
The longer the shutter is open the more likely it is that movement (either in your subject or by way of the camera moving) will create a blur in the image. As a general rule, you should never use a shutter speed of less than 1/60th of a second with a handheld camera. 1/125th or faster is best to capture images of people, animals, or other slow-moving subjects. Fast-moving subjects such as sports, moving vehicles, etc. should be captured at 1/500th of a second or faster.
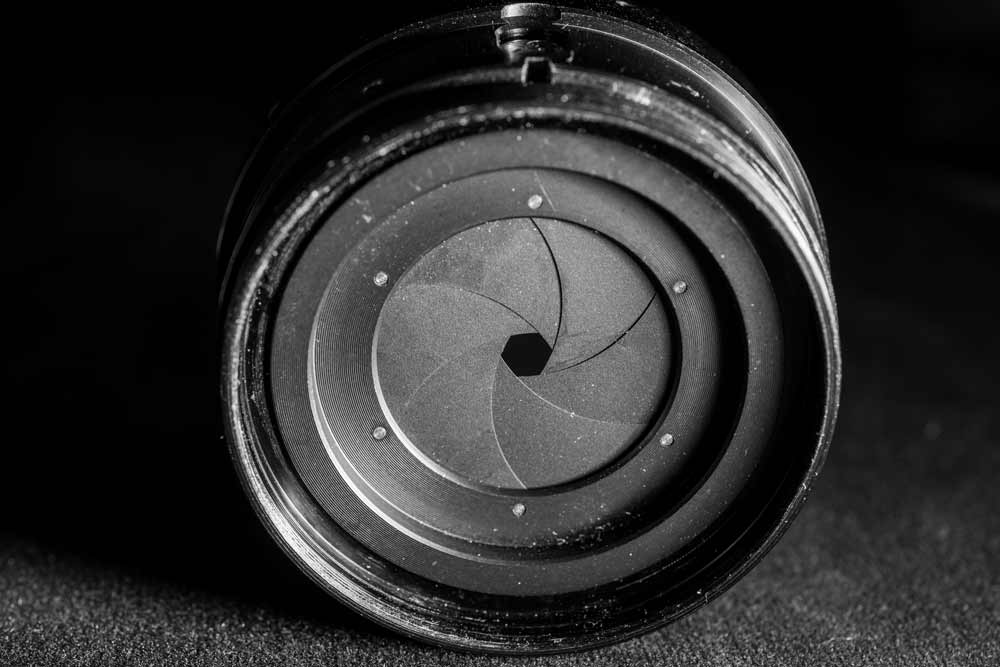
The aperture setting refers to the size of the opening in the lens that is used to transport the light to the sensor. A larger opening means that more light is focused on the sensor, allowing for images in darker conditions.
It’s important to know that the available aperture settings are controlled by the lens on your camera. Typically the more expensive a lens is, the wider the maximum available aperture will be. Aperture also controls the “depth of field” or the blurriness of the background, but that’s a discussion for another post. Apertures are measured in something referred to as “f-stops”, with, oddly enough, a lower f-stop number referring to a larger aperture opening.
The ISO, an acronym that has no direct meaning other than being measured by a standard set by the International Standards Organization, is a measure of the sensitivity of the sensor to light. Measured in numbers typically starting at 100, the higher ISO settings allow you to take images with a more sensitive sensor. This translates to an ability to capture scenes in lower-light situations. Beware of using very high ISO settings as that can, depending on your camera, introduce graininess into your images.
OK, so with that understanding, there are typically four exposure mode settings that are available on modern cameras…
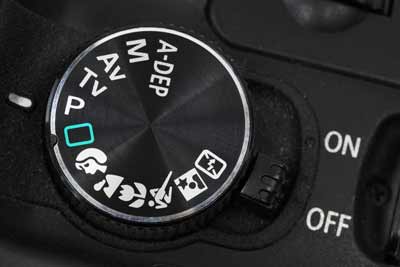
Canon Style Exposure Mode Dial
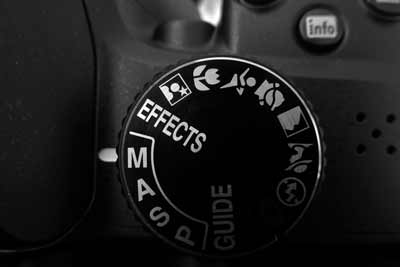
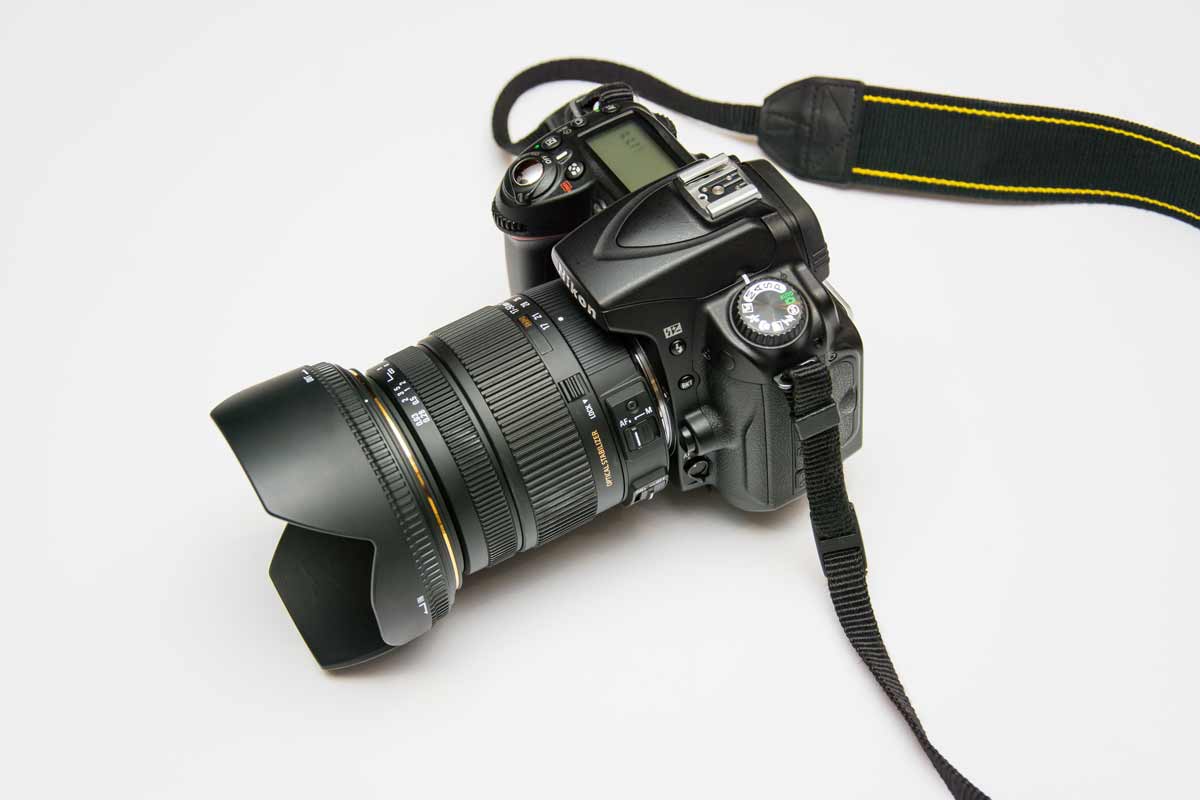
Nikon Style Exposure Mode Dial
Full Manual Operation
Usually designated as M on the exposure setting dial, this mode allows you to control all of the exposure-related settings, including shutter speed, aperture, and ISO. Some cameras have the ISO automatic or manual setting separate from the exposure mode.
While this mode allows you the most creative control of your images, it can be challenging to use the fully manual mode for travel photography. Often, when traveling, scenes and circumstances change quickly and it can be very difficult to adjust your settings to get a quality image. We rarely use manual mode on our camera when traveling for this exact reason.
Shutter Priority Mode
Shutter priority mode allows you to set the desired shutter speed and have the camera determine the aperture and ISO automatically. This setting is usually identified by a Tv or S on the mode dial, referring to time value or shutter priority. This mode is typically pretty well suited for travel photography because it allows you to choose a shutter speed that will capture your subject and avoid the blurriness that comes with inappropriately slow speeds. Nothing ruins an image faster than having a blurry subject. In fact, this is our preferred camera mode when we travel.
Aperture Priority
The aperture priority mode, typically identified as Av or A on the dial, allows you to set the camera’s f-stop setting and have the camera determine the shutter speed and ISO. This mode is most useful when you want to control the “depth of field” which is the amount of the foreground and background that is sharply in focus.
The lower f-stop numbers, which allow more light onto the sensor, provide a more shallow depth of field, causing the foreground or background portions of the image to be “soft” or blurry. This mode is most useful when you want to have a degree of artistic control while still having the convenience of some automatic support from the camera. One caution to consider – if you are photographing a moving subject there is a chance that the camera, in aperture priority mode, could select a shutter speed that allows for the possibility of blurriness in the image.
Fully Automatic
Typically identified with a P for “programmed” or “Auto” this mode controls all three of the exposure-related settings – shutter speed, aperture, and ISO. Perhaps the most convenient of the modes, this setting allows you to let the camera do all of the thinking. The camera will decide on the best settings for aperture, shutter speed, and ISO based on the light conditions and lens capability.
While it does give you a lower degree of control, given that the camera chooses the settings it believes to be most appropriate, it also allows for quick and worry-free photography. One caution, the camera will decide on the settings based only on the lighting conditions. The type of subject and the amount of movement is not considered, which can result in blurriness for fast-moving subjects, particularly in low light conditions,
“The only photographer you should compare yourself to is the one you used to be”
~ Unknown
Many cameras also have automatic modes that are optimized for sports, close-ups, portraits, or landscape scenery. Any of these are also good choices for travel photography depending on the scene you are shooting. The technical advancements of current cameras are absolutely amazing. While it may appear complex at the start, learning the basics and using the best exposure mode will really improve your travel photography experience and results!

