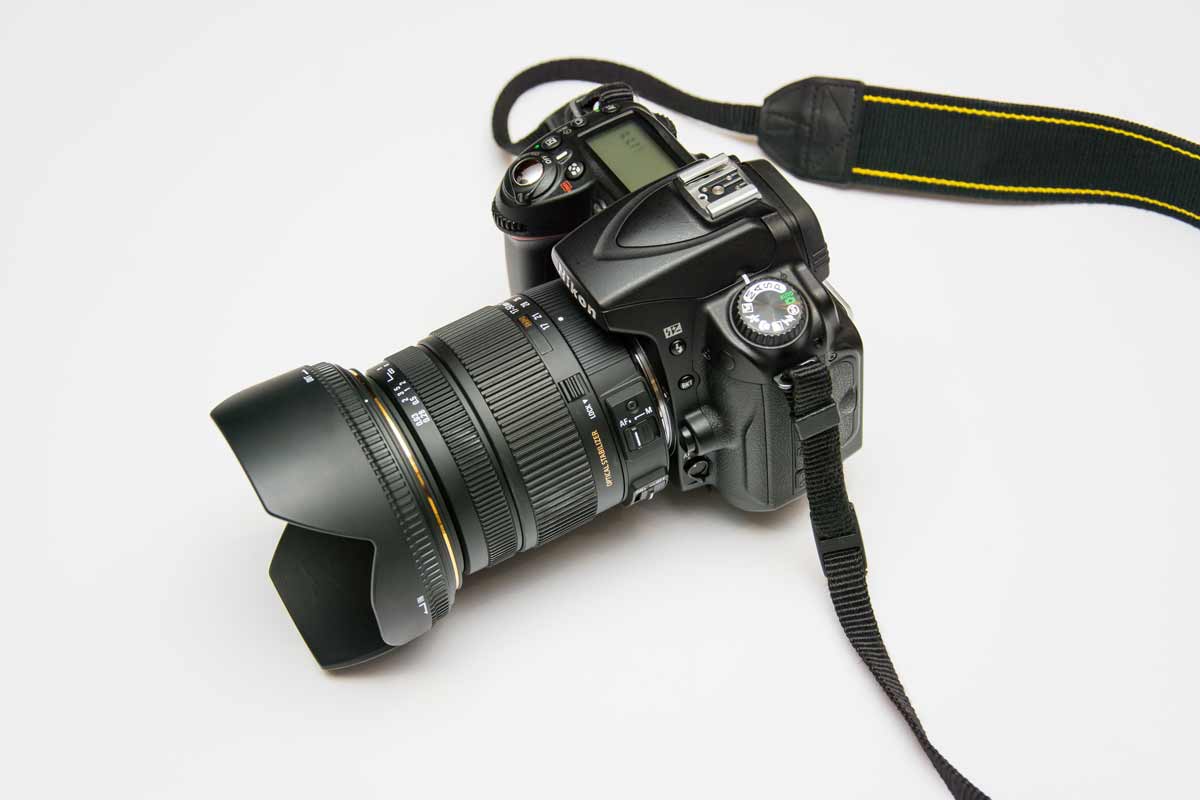
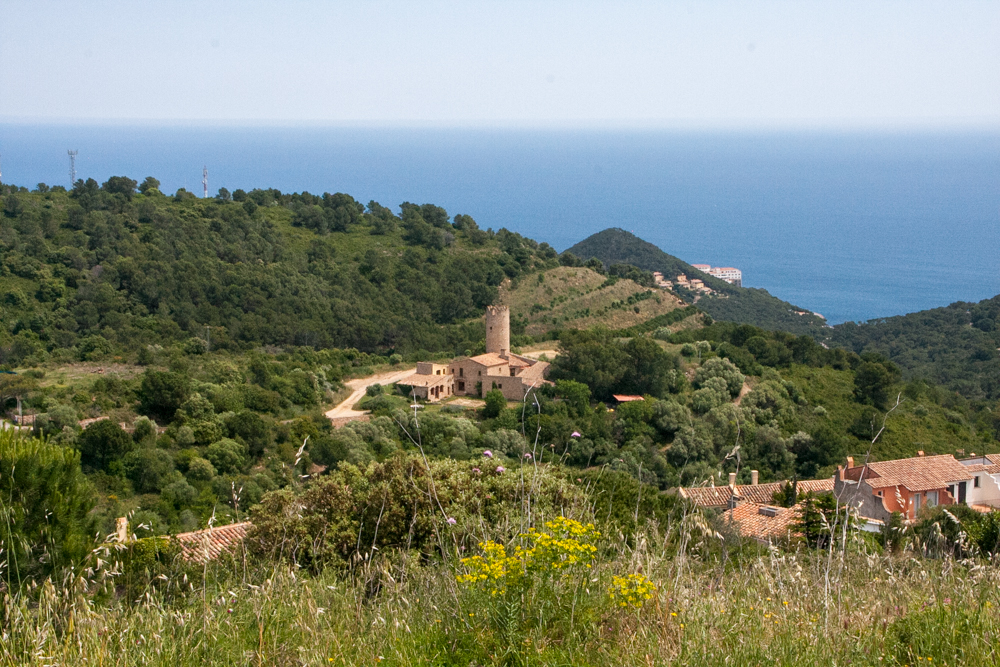
Travel Photography – Top 20 Tips & Tricks
Our love for travel photography is fundamentally built around two of our most important passions – traveling the world and creating memories. We love to travel the work to experience new people, different cultures, and to see the amazing sights that the world has to offer. Looking at the world through the lens of a camera offers an entirely different perspective. Documenting your experiences with great images preserves these memories for a lifetime.
Travel photography differs from other genres in several ways. It’s boundaries are virtually unlimited. The entire world is your studio. You must be prepared for the unexpected – weather conditions can be challenging, crowds can interfere, scenes can change in the blink of an eye. These challenges are actually part of what makes travel photography interesting.
We’ve been fortunate enough to travel to many areas of the world, which has also presented the opportunity to take some great pictures and make some very disappointing mistakes. As a result we have many tips that we would like to share with you in the hopes that you can capture great images on your next journey and enjoy the experience.
“Taking pictures is savoring life intensely, every hundredth of a second”
~ Marc Riboud
Before jumping into the top tips let’s have a quick discussion on the various styles of travel photography. Your photography style is what will make you unique and put your personal touch on the images that you bring home. Traveling the world opens up virtually every style of travel including landscapes, landmarks, portraits, and a journalistic approach. Give some thought to the style or styles that most appeal to you. Check out blogs and other sources of images and pay attention to those that most draw you in. Good photography not only captures an image but also evokes feelings and passion. Being aware of the types of images that you most enjoy will help you capture images that will rekindle the essence of your trip every time you look at them.
Our love for travel photography is fundamentally built around two of our most important passions – traveling the world and creating memories. We love to travel the work to experience new people, and different cultures, and to see the amazing sights that the world has to offer. Looking at the world through the lens of a camera offers an entirely different perspective. Documenting your experiences with great images preserves these memories for a lifetime.
Our Top 20 Tips & Tricks
1 – Think Ahead
Sure, a great photograph can be taken in the spur of the moment. But planning ahead will dramatically improve your chances of coming home with images that you love. What locations do you want to visit? What time of day will you have the best light? What equipment do I need? What feeling do I want my images to portray? These are just a few of the key questions that will help you be prepared. Planning ahead is one of the most critical skills that you can learn that will increase the quality of your travel photos. This will come with experience as well. Each time something doesn’t go according to plan is an opportunity to be more prepared next time.
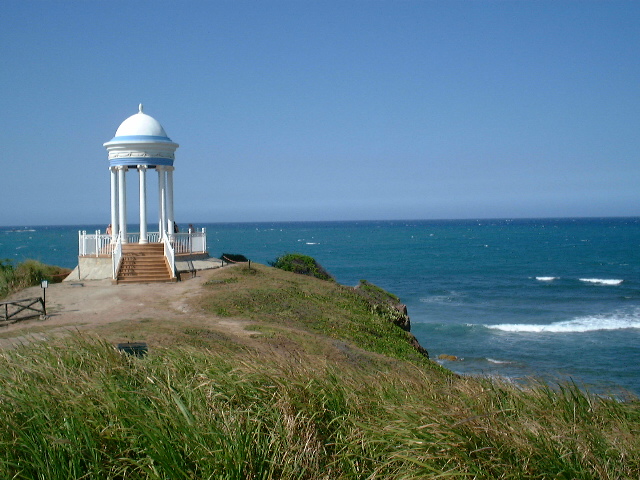
2 – Look Up
Sure, a great photograph can be taken on the spur of the moment. But planning ahead will dramatically improve your chances of coming home with images that you love. What locations do you want to visit? What time of day will you have the best light? What equipment do I need? What feeling do I want my images to portray? These are just a few of the key questions that will help you be prepared. Planning ahead is one of the most critical skills that you can learn that will increase the quality of your travel photos. This will come with experience as well. Each time something doesn’t go according to plan is an opportunity to be more prepared next time.
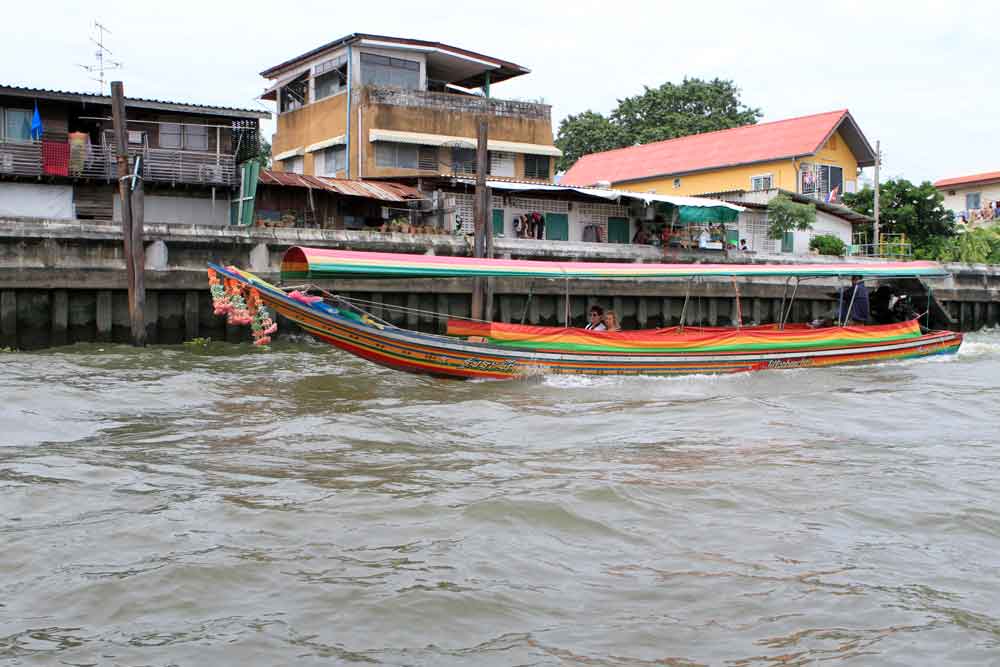
3 – Crowd Control
Often when we travel we encounter some pretty busy locations. Some of the world’s most famous sights can be overrun with visitors, particularly during the high season times of the year. Capturing great images can be difficult if not impossible at crowded locations. When visiting these locations it’s a good idea to go early or late in the day or otherwise inquire about times when there are fewer people. Ask the locals and they will be able to tell you when to visit and avoid the largest crowds.
4 – Gear Up
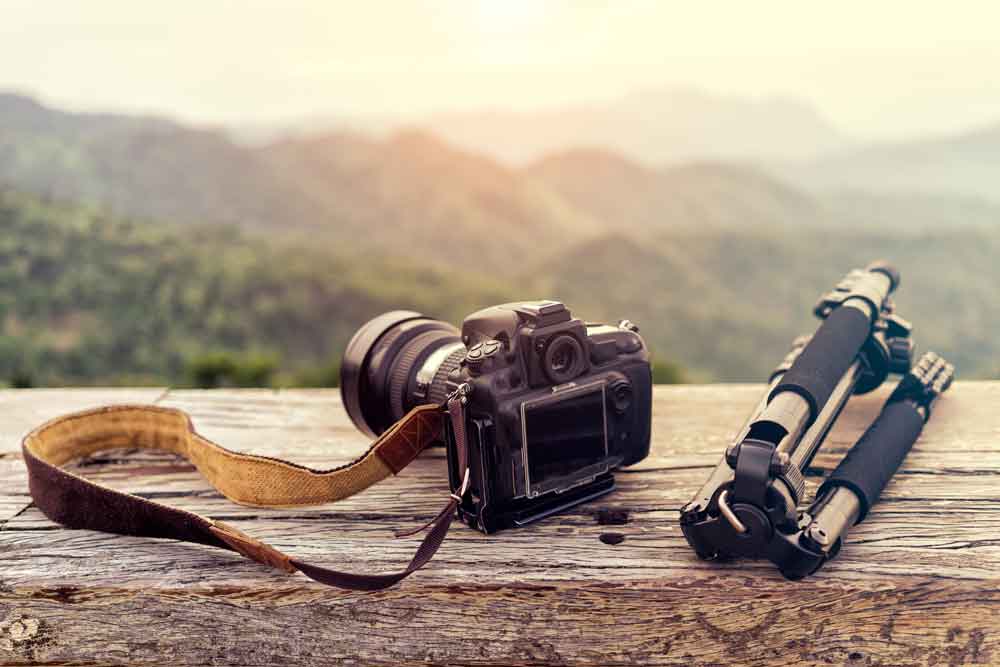
Plan ahead for what gear you want to bring. There is a balance to be found! You don’t want to be without that critical piece of equipment to capture amazing images, but you also don’t want to over-pack and have to lug a heavy pack with you as you travel. The most important things to consider include your camera (of course), lenses that are suitable for what you plan to photograph, lens care and cleaning supplies, sufficient memory card capacity, spare batteries and the charger, a tripod for long exposures and self-portraits, a remote shutter release to for use with the tripod, and a USB external storage device to back up your images.
5 – Expect the Unexpected
Keep your gear at the ready and handy whenever you’re traveling about. Check your settings, battery levels, and memory card capacity before heading out for the day. Don’t bury your camera in your backpack or purse. Keep it in reach so that you can easily capture that unexpected moment. You will not regret it!
“Photography is a form of time travel.”
~ Neil DeGrasse Tyson
6 – Know Your Settings
Before you leave for the day, think ahead about how to set your camera for each environment you expect to experience. Shooting outdoors or indoors, bright sun or shade, early morning or evening hours, night photography. Each of these requires different settings and you will want to be ready as you travel. I have been very frustrated watching a great moment come and go while fussing with my settings. For more information on which settings to use see our What Mode Do I Use post.
7 – Back ‘Em Up
Losing your images from a trip, or even part of a trip can be absolutely heartbreaking. Be sure to back up your photos regularly during your trip. Use a laptop or other device to upload your photos to your preferred cloud provider or back them up locally. Our preference is to bring a large-capacity USB storage device and back up our images at the end of each day. These are now relatively inexpensive, small, and have enough capacity for literally thousands of images. Remember that memory cards can fail, get lost, or even be stolen in your camera. Play it safe and always backup your images every day.
8 – Protect Your Gear
Keep your valuable camera gear with you at all times. Literally don’t let it out of your site unless it’s securely locked in a location that you trust. Photography gear is expensive and is often the target of petty thieves. We’re not implying that you would be victimized by petty crime, but it’s always better to be safer than sorry. Also, consider getting insurance coverage on your gear, particularly if you’re traveling with a pack filled with expensive equipment.
9 – Get a Good Strap
Depending on your camera of choice, you would be well served to get a high-quality, no-slip strap, especially if you travel with a DSLR or full-sized mirrorless camera. We have a compact mirrorless camera that we use for our travels and have an adjustable over-the-shoulder strap that leaves the camera ready on your hip, but out of the way for the rest. There are a wide variety of straps, holsters, and mounts that you can choose from. Investing in a good strap will not only be convenient but will also help you capture that unexpected moment.
10 – Mind Your Manners
We love street photography as a way to truly capture the essence of a location and it’s people and their culture. That said, please keep in mind that not everyone wants to have their picture taken. It’s highly appropriate to ask before you take someone’s picture, particularly if they are readily identifiable in the image. It’s very important to respect people’s personal space and preferences when taking their pictures. In fact, asking will often be the spark that strikes up a great conversation with an interesting local person. Don’t be that tourist that takes people’s pictures and makes them feel uncomfortable in their own environment.
11 – Know Your Camera
If you’re an old hand with your current camera, then you should be all set. If you’re not really familiar with it, it’s worth practicing before you go on that big trip. Know the settings and where to find them in your camera. Be familiar with the information on your camera’s display and what it’s telling you. If you’re not sure check your camera’s manual or look up the model on YouTube and you will find tons of information that will help. Finding the right settings and reading the meters in your camera will help you get better exposures and better images. Nothing is worse than fumbling with a menu or dial while trying to capture an amazing moment.
12 – Lower Your Camera Too
When you’re a photography enthusiast, it’s all too easy to experience your entire trip through your viewfinder. While preserving the great things that you’re experiencing is part of the fun, don’t let yourself obsess over it to the point that you miss out on other great parts of the experience. Lowering your camera will allow you to see the world as it was meant to be seen, and to enjoy the people around you. Make sure that you balance your photography passion with your love of seeing and experiencing the great places that you visit.
13 – Keep Your Composure
There are so many composition rules and guidelines that it can be overwhelming, especially when your traveling in new places that present scenes that are quick to disappear and difficult to capture. The key is to learn a few of the basic composition principles such as the rule of thirds, leading lines, and the use of negative space. And then practice, practice, practice. The most important rule to remember is that composition is in the eye of the beholder. In other words, all of the rules and guidelines don’t matter as long as you love the images that you are capturing!
14 – Shoot in the Raw
Almost all DSLR or mirrorless cameras provide the ability to store your pictures to the memory card in what is known as RAW format. RAW formats are typically native to your camera manufacturer and are intended to store all of the information that the camera is capturing and processing for you to use later. JPG and PNG formats, on the other hand, are compressed and eliminate much of the original digital details in order to save space. Images captured in RAW allow more robust post-processing to correct things like white balance, exposure, color saturation, hot spots, and shadows. While RAW files are larger, they also provide you with significantly more flexibility to edit after your trip. Today’s memory cards have a large enough capacity to easily accommodate thousands of images, even in RAW format.
15 – Learn About Post-Processing
The term post-processing refers to the ability to adjust images after they were captured to prepare them for additional uses such as sharing, publication, creating photo books, and other uses. Post-processing can include simple edits such as cropping and straightening to much more complex modifications such as removing objects from an image or touching up blemishes and other unwanted marks. Post-processing images require some type of software and can be done on your mobile device or your personal computer. Some of the most common post-processing software solutions include Adobe’s Photoshop and Lightroom, Corel Draw, and freeware such as PhotoDirector, Movavi, and Pixir. While these tools can be quite sophisticated and support complex enhancements, they are all relatively easy to use for basic edits.
16 – Take Many, Select a Few
Thankfully the days of paying for film and for developing and printing services are long behind us. Digital photography allows us to take many images of the same scene, experiment with different compositions and exposures, and ensure that you’ve captured what you intended. Don’t be shy with the shutter button. The only cost associated with taking multiple images is the time that you will need to sort through them and select your favorites. We often use our camera on the multi-exposure setting allowing us to capture several successive images of a scene. This is particularly helpful when you are shooting groups of people to ensure that you don’t catch someone blinking.
“My life is shaped by the urgent need to wander and observe, and my camera is my passport.”
~ Steve McCurry
17 – Develop Your Eye
Learning to “see” a shot before you raise the camera is actually a skill that you can develop. While some people just seem to have a knack for spotting an amazing shot and composing it just right, I bet that they are like most of us where that skill is developed through a lot of practice. As you get familiar with composition and some of its basic principles you will start to see the shot before you point your camera. At times I find myself walking just about anywhere thinking about how I would compose an image to capture what I’m seeing. Be patient with yourself and it will come.
18 – Go For The Gold(en)
The golden hour is approximately one hour before sunset until dusk or one hour after sunrise. This is the time of the day when the sun is lower in the sky and the light takes on a warm, golden glow, which is amazing for pictures. This lighting brings out some of the reds and yellows in images and tends to eliminate the harsh shadows that can plague mid-day photos. The golden tone of the sunlight is caused by the rays of light traveling through more of the earth’s atmosphere, which reduces the number of blue wavelengths, causing it to take on a warmer, more red hue. The actual length of the golden hour depends on your location and time of year, but it’s generally fine to plan for an hour. Pick out a location and use the amazing light to capture some of the richest and most enchanting images on your trip.

19 – Patience is a Virtue
Sometimes when we travel we have deadlines and are in a hurry to see more sights or to catch transportation to the next location. It’s always very difficult to capture good images if you are rushing. If you find a great location and have the time, slow down and wait for the right composition. Wait for a break in the pedestrian traffic, for the clouds to obscure a harsh shadow, of for your subject to present in just the right way. You will enjoy your photography experience more and will capture better images if you allow yourself the necessary time to do it right.
20 – Look Beyond the Obvious
Sometimes it’s said that the devil is in the details. In the case of travel photography, great images are in the details. Keep an eye out for details that might not initially be obvious. Is the lighting on your subject’s face-flattering? Are there distracting objects in the background? Can you compose your image to bring out an interesting detail that might otherwise be overlooked? Sometimes it’s these details that make the difference between a good image and a great one. Take your time, look for these details before you raise your camera, and then compose your image to bring them out.
“The only photographer you should compare yourself to is the one you used to be”
~ Unknown
Many cameras also have automatic modes that are optimized for sports, close-ups, portraits, or landscape scenery. Any of these are also good choices for travel photography depending on the scene you are shooting. The technical advancements of current cameras are absolutely amazing. While it may appear complex at the start, learning the basics and using the best exposure mode will really improve your travel photography experience and results!

